
How to Winterize Your Home: A Beginner's Checklist
Heads up: this post contains affiliate links. If you buy through them, we may earn a small commission at no extra cost to you. This checklist is based on research and common homeowner guidance, not hands-on product testing. Learn more.
If you did a fall cleanup already, you're ahead of the game. If you missed it, the Fall Home Maintenance Checklist covers gutters, filters, and alarms. This post picks up where that one leaves off: getting your house ready for real cold, so you're not dealing with frozen pipes or a surprise heating bill in January.
You don't need to be handy to do most of this. A free afternoon, a few inexpensive supplies, and a willingness to poke around the basement or crawl space will cover a lot. And for the parts that aren't DIY jobs, we'll say so plainly.
Step 1: Protect your pipes
Frozen pipes are one of the most stressful winter problems a homeowner can have, and a lot of prevention is cheap.
Insulate exposed pipes
Look for water pipes in unheated spaces: the garage, crawl space, unfinished basement, and along exterior walls under sinks. Foam pipe insulation sleeves slip over many pipes and help them hold heat.
What to look for: sleeves sized to fit your pipe diameter (measure first), and tape made for sealing the seams.
- Look for: foam pipe insulation sleeves
- Look for: pipe insulation tape
Cover outdoor faucets
After you disconnect hoses and drain outdoor faucets, add an insulated cover. It's a small, cheap step that adds a layer of protection.
- Look for: insulated outdoor faucet cover
Know your main water shutoff
If a pipe does burst, every minute counts. Find your main shutoff valve, make sure it turns, and label it. If the valve is stuck or leaking, call a licensed plumber rather than forcing it.
- Look for: valve tags
When to call a plumber
Pipes inside your walls, under the slab, or anywhere you can't easily reach are jobs for a licensed plumber. The same goes for any pipe that's already frozen inside a wall. Please don't use an open flame to thaw a pipe.
Step 2: Get your heating system ready
Change the furnace filter
Pull the current filter, note the size printed on the edge, and keep a few replacements on hand for the season. Check your system's manual for how often to change it.
- Look for: furnace filters in your size
Book a heating tune-up
If you haven't already, schedule a yearly check with a licensed HVAC technician. This matters even more with a gas furnace or boiler. Gas appliances aren't a DIY repair. If you ever smell gas, get everyone out of the house and call your gas utility from outside.
Test your carbon monoxide and smoke alarms
Winter means windows stay shut and heating runs more, so this is a good time to test every alarm and replace batteries. Check the manufacture date on the back too, since alarms don't last forever.
- Look for: combination smoke and CO alarm
- Look for: alarm batteries
Consider a programmable or smart thermostat
A thermostat you can schedule makes it easier to lower the heat while you sleep or are away. What to look for: compatibility with your current heating system (check before you buy) and controls you'll actually use. If your system needs new wiring for it, have a licensed HVAC tech or electrician handle the install.
- Look for: programmable thermostat
Step 3: Stop the drafts
Cold air sneaking in around windows and doors makes a room feel chilly even when the heat's on. We have a full post on fixing drafty windows and doors, but here are the quick wins:
- Door sweeps close the gap at the bottom of exterior doors.
- Weatherstripping seals the sides and top of doors and window sashes.
- Window insulation film kits add a clear layer over the inside of drafty windows for the season.
- Caulk seals small gaps around interior trim.
If you don't have a caulk gun or utility knife yet, the Essential Tool Kit for First-Time Homeowners walks through the basics.
Step 4: Check the fireplace and chimney
If you have a wood-burning fireplace or stove, have the chimney inspected and cleaned by a certified chimney professional before your first fire of the season. Make sure the damper opens and closes, and keep it closed when you're not using the fireplace so warm air doesn't escape. Gas fireplaces should be serviced by a qualified technician.
- Look for: fireplace screen
- Look for: fireplace tool set
Step 5: Look up (from the ground)
Heavy snow and ice can be hard on roofs and gutters. From the ground, check for sagging gutters, loose shingles, or branches hanging over the roof. If anything needs work up there, call a licensed roofer. Please don't climb onto a roof, especially in cold or icy weather. Large branches near the house or power lines should go to a tree service.
Step 6: Prep the outside
- Put away hoses after draining them.
- Store or cover patio furniture and the grill.
- Have snow tools ready before the first storm, not after. What to look for: a snow shovel that's comfortable for your height, and an ice melt product that's labeled safe for your surfaces and pets if you have them.
- If you have an irrigation system, it usually needs to be drained or blown out before a freeze. Many homeowners hire an irrigation company for this, since it uses compressed air.
Step 7: Make a winter emergency kit
Power outages happen. A simple kit in an easy-to-reach spot means you're not hunting in the dark.
- Flashlights or headlamps and extra batteries.
- A battery or hand-crank radio.
- Blankets and warm layers.
- A portable phone charger.
- Bottled water and shelf-stable snacks.
A quick safety note: never run a generator, grill, or camp stove indoors or in an attached garage, and only use space heaters that are made for indoor use, following the manufacturer's directions.
Leave these to a licensed pro
- Anything with gas lines, gas appliances, or gas fireplaces
- Work inside your electrical panel or new wiring
- Roof repairs or anything that means climbing on the roof
- Pipes inside walls or under floors, and any pipe that has already burst
A quick printable version
- Insulate exposed pipes
- Cover outdoor faucets
- Find and label the main water shutoff
- Change the furnace filter
- Book an HVAC tune-up
- Test smoke and CO alarms
- Add door sweeps and weatherstripping
- Put up window film on the draftiest windows
- Book a chimney inspection (if you have one)
- Check gutters and roof from the ground
- Put away hoses and cover outdoor furniture
- Get snow tools ready
- Pack a winter emergency kit
Write it down once, thank yourself next year
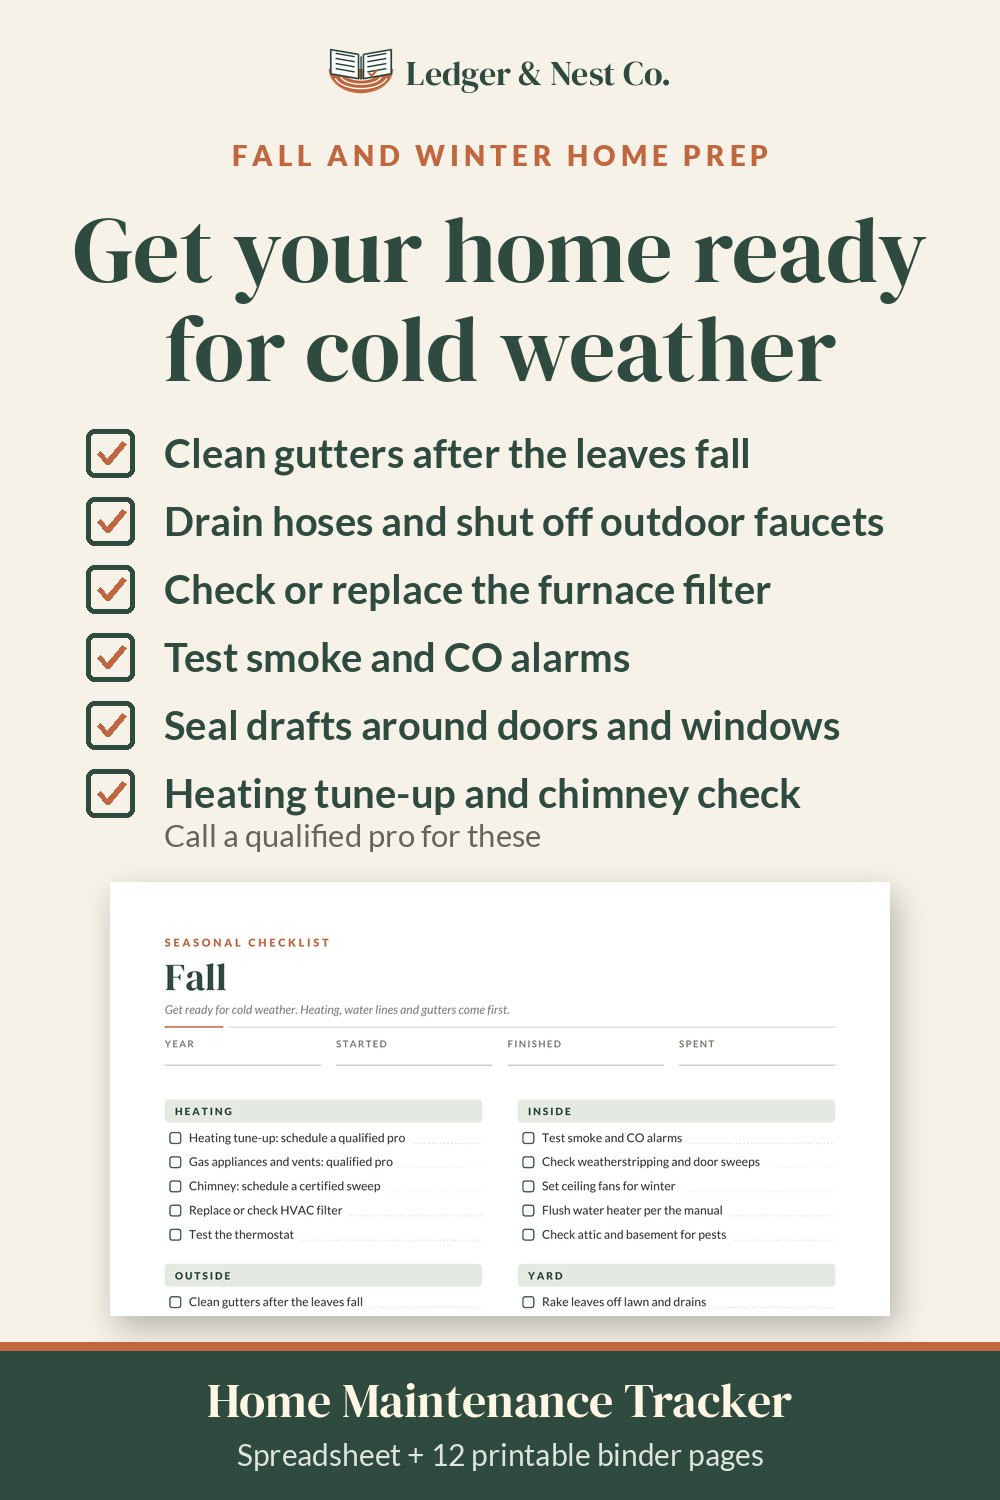
Winterizing is mostly the same list every year. The trick is remembering what you did, when you did it, and which filter size or faucet cover you bought. We made the Home Maintenance Tracker so all of that lives in one Google Sheet, with space to note what's due next. If a notebook or your phone's notes app works better for you, use that. Just keep it somewhere you'll find it next fall.
The short version
Protect your pipes, get the heating system checked, seal the obvious drafts, and have a plan for outages. Most of it is cheap and quick. The rest, like gas, the electrical panel, the roof, and pipes inside walls, belongs to a licensed pro.