
How to Plan a Renovation Budget Before the New Year
Heads up: this post contains affiliate links. If you buy through them, we may earn a small commission at no extra cost to you. This is general planning guidance based on research, not financial advice. Learn more.
The end of the year is a great time to plan a renovation. Contractors' schedules start filling up for spring, you've had a few months to learn what bugs you about your house, and there's something nice about starting a new year with a plan instead of a pile of ideas.
The part most of us skip is the budget. It's not the fun part, but it's the part that keeps a project from turning stressful halfway through. Here's a simple, step-by-step way to build one, even if you've never planned a renovation before.
Step 1: Decide what you actually want to change
Start with a list of every project you're dreaming about, big and small. Then sort it:
- Must do: safety issues, leaks, things that are broken.
- Should do: updates that make daily life easier.
- Would love to do: the fun stuff.
Pick one or two projects to focus on first. Trying to plan the whole house at once is how budgets get fuzzy.
Step 2: Measure everything
You can't price materials without measurements. Measure the room, the walls you'll paint, the floor you'll cover, and any windows, doors, or cabinets involved. Write it all down in one place and take photos with the tape measure visible.
- Look for: 25-foot tape measure
- Look for: laser distance measure
- Look for: graph paper notebook
If you're still building your basic tool collection, the Essential Tool Kit for First-Time Homeowners is a good place to start.
Step 3: Split the work into DIY and pro
Be honest here. DIY can save money, but only on jobs you can do safely and well. A good rule of thumb:
- Often DIY friendly: painting, caulking, swapping hardware, simple fixture updates, demo of non-structural items.
- Hire a licensed pro: gas lines and appliances, anything inside the electrical panel or new wiring, roof work, plumbing inside walls, and anything structural like removing walls.
Pro work often needs permits, and the pro can usually tell you what's required in your area. Put a line in your budget for permits so they don't catch you off guard.
Step 4: Price it out, line by line
For each project, list every cost you can think of:
- Materials: paint, tile, flooring, fixtures, hardware, caulk, and all the small stuff.
- Tools: anything you need to buy or rent.
- Labor: quotes from licensed pros for the jobs you're hiring out.
- Permits and fees: check with your local building department.
- Delivery and disposal: dumpster rental, haul-away, or delivery charges.
- Living costs: if a kitchen or bathroom is out of commission, will you be eating out more?
For materials, check current prices at a couple of stores and write down what you find with the date, since prices change. For labor, get more than one written quote when you can, and make sure each quote covers the same scope so you're comparing apples to apples.
Step 5: Add a cushion
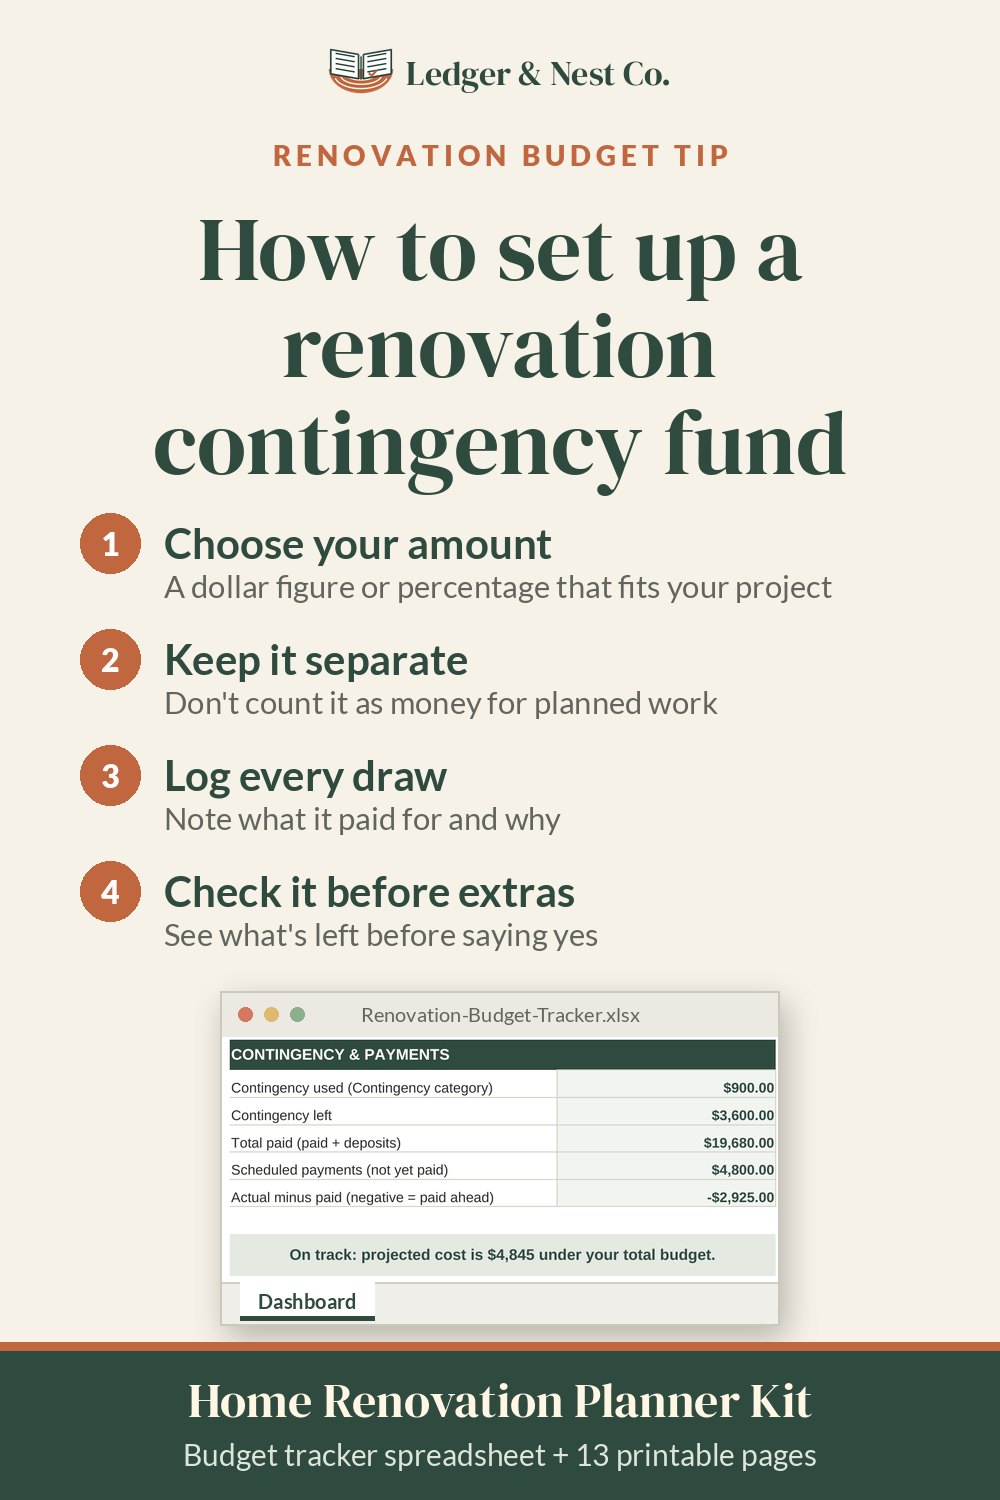
Almost every renovation runs into something unexpected once walls or floors are opened up. Set aside a contingency amount on top of your total for surprises. Plenty of guides suggest a percentage of the project cost, so pick a cushion that feels safe for your situation and don't spend it on upgrades.
Step 6: Decide how you'll pay
Figure out what you're paying for with savings and whether anything needs to wait. If you're considering financing, take your time, compare options, and talk with a financial professional if you're unsure. A project you can comfortably afford is always better than one that stretches you thin.
Step 7: Track spending as you go
A budget only works if you check it. Every time you buy something, write down what it was, what it cost, and which project it's for. Keep receipts in one spot, whether that's an envelope, a folder, or photos on your phone.
- Look for: accordion file folder
- Look for: receipt organizer
If you notice one category creeping up, you can adjust early, like choosing a simpler tile or doing the painting yourself, instead of finding out at the end.
Step 8: Set a realistic timeline
Write down when each phase should happen and what has to be done first. Pros often book out weeks or months ahead, and some materials take time to arrive. A timeline helps you order things at the right time and avoid paying for rush delivery.
A sample budget layout
You don't need anything fancy. A simple table with these columns works:
| Item | Category | DIY or pro | Estimated cost | Actual cost | Notes |
|---|---|---|---|---|---|
| Paint and supplies | Materials | DIY | Two coats, satin finish | ||
| New vanity light install | Labor | Licensed electrician | Get 2 quotes | ||
| Permit | Fees | Pro handles | Ask the contractor |
If you're planning a smaller project first, the Best Tools for a First-Time DIY Bathroom Refresh post is a good example of how to scope a refresh before you shop.
Make planning easier on yourself
We made the Renovation Planner Kit to give budgets, quotes, and project lists one home. It gives you a place to map out each project, track estimated versus actual costs, and see where you stand at a glance. If you also want a place to log ongoing maintenance, the Whole Home Bundle pairs the Renovation Planner Kit with the Home Maintenance Tracker. And if you already have a spreadsheet you love, that's perfect. The point is to have one place for the numbers.
The short version
Pick your projects, measure everything, decide what's DIY and what's for a licensed pro, price it line by line, add a cushion, and track every purchase. Do that before the new year and you'll start your renovation with a plan instead of a guess.